前の記事で、「Olimex ARM-USB-TINY-H」からRaspberry piへのJTAG接続にチャレンジした。どうもうまく動かせなかったので「J-Link LITE ARM」を使ってGDBからの接続を試したので備忘録を残す。
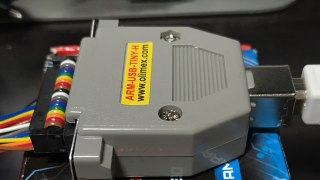
【msys2/Windows】ARM-USB-TINY-HでRaspberry pi 2にJTAG接続する
以前の記事でRaspberry PiのJTAGピンを有効にし、J-Linkで接続した。今回、msys2環境(Windows)から「Olimex ARM-USB-TINY-H」で、Raspberry piへのJTAG接続にチャレンジしてみたの...
J-Link Software のインストール
下記、SEEGERのホームページから「J-Link Software for Windows」をダウンロードしインストール。
SEGGER - The Embedded Experts - Downloads - J-Link / J-Trace
Download the latest SEGGER trial versions, eval packages and user manuals!
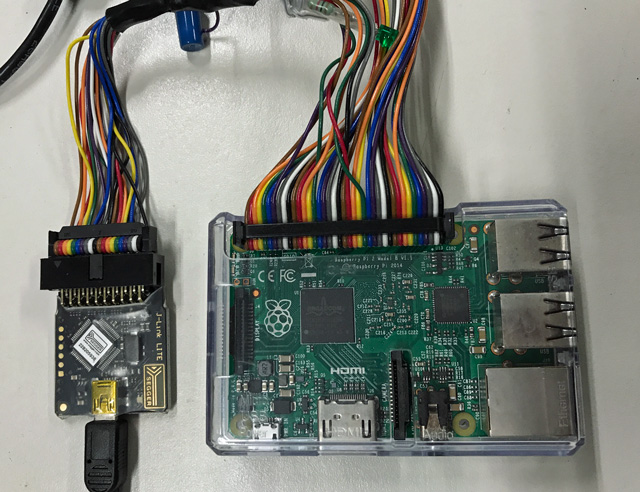
J-Link LITE ARMとRaspberry Pi 2を接続
下記記事に従って、JTAGピンを有効にし接続。
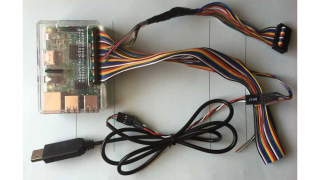
【Raspberry Pi】u-bootでJTAGピンを有効にする
Raspberry Piで、ベアメタルなソフト開発をするのに、JTAGデバックできた方が便利なのだが、初期状態ではJTAGの信号がGPIOコネクタに割り当てられていない。そこで、u-bootの初期化ソースコードを修正して、JTAGピンを有効...
J-Link GDBサーバを起動
[Windowsのスタートメニュー] > [SEEGER] > [J-Link GDB Server] をクリック。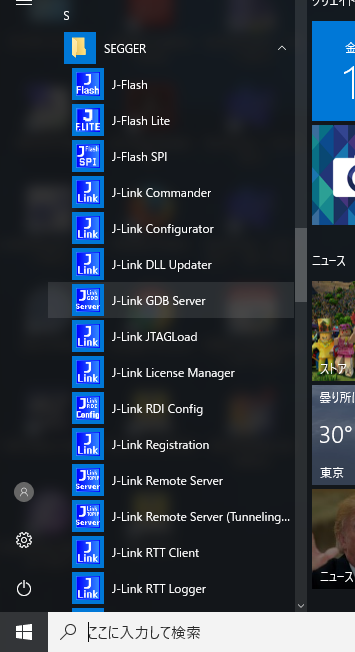
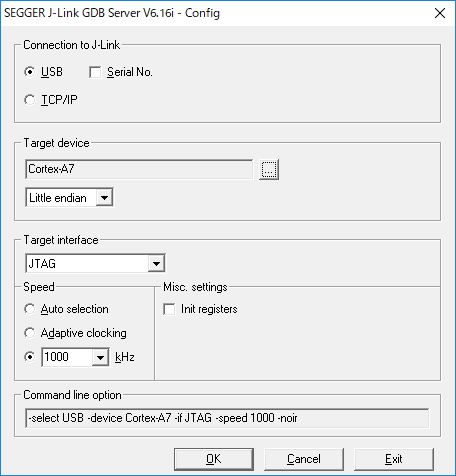
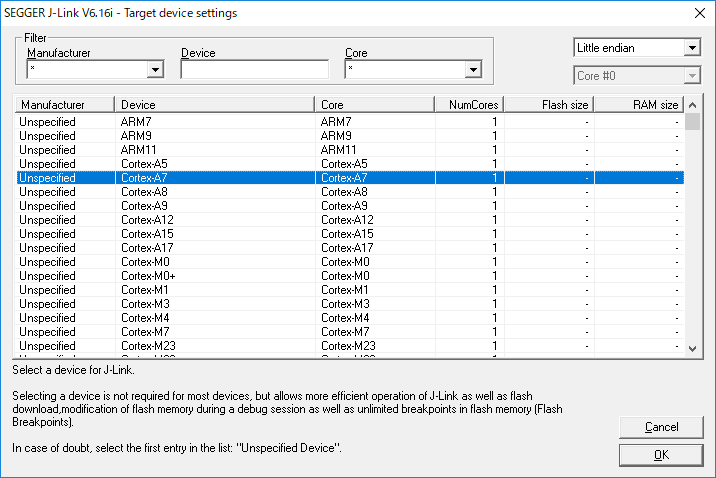
続いて、Target deviceで「CortexA7」を選択して[OK]
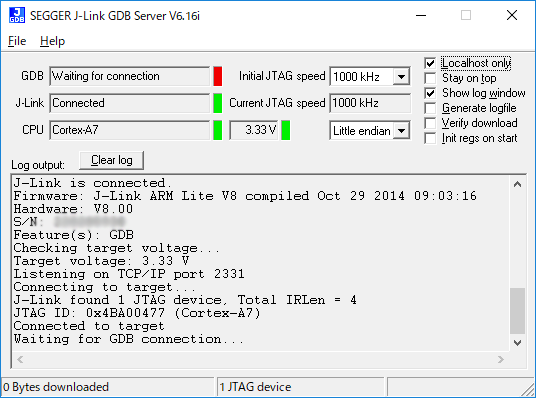
起動したら下記画面になり、「2331」ポートの通信待ちとなる
GDBの起動
GDBは下記記事でインストールしたものを利用。

【msys2】ARMのGCCコンパイル環境を構築する
以前の記事で、msys2のコンソールシェル環境を構築した。続いて、ARM用のGNUクロスコンパイル環境を構築。「GNU ARM Embedded Toolchain - ARMDeveloper」のツールチェーンをインストールして使う。AR...
msys2のコマンドプロンプトから、下記コマンドでGDBを実行。
$ arm-none-eabi-gdb tmonitor
GNU gdb (GNU Tools for ARM Embedded Processors) 7.10.1.20160923-cvs
Copyright (C) 2015 Free Software Foundation, Inc.
License GPLv3+: GNU GPL version 3 or later <http://gnu.org/licenses/gpl.html>
This is free software: you are free to change and redistribute it.
There is NO WARRANTY, to the extent permitted by law.  Type "show copying"
and "show warranty" for details.
This GDB was configured as "--host=i686-w64-mingw32 --target=arm-none-eabi".
Type "show configuration" for configuration details.
For bug reporting instructions, please see:
<http://www.gnu.org/software/gdb/bugs/>.
Find the GDB manual and other documentation resources online at:
<http://www.gnu.org/software/gdb/documentation/>.
For help, type "help".
Type "apropos word" to search for commands related to "word"...
Reading symbols from tmonitor...done.

(gdb) target remote localhost:2331
Remote debugging using localhost:2331
0x07f68414 in ?? ()

(gdb) load
Loading section .eitbra, size 0x1a0 lma 0x8000
Loading section .startup, size 0x1a0 lma 0x8200
Loading section .text, size 0xffd0 lma 0x83a0
Loading section .data, size 0xc0 lma 0x18370
Loading section .flashwr, size 0x684 lma 0x18430
Start address 0x8000, load size 68180
Transfer rate: 61 KB/sec, 3409 bytes/write.

(gdb) break resetSystem
Breakpoint 1 at 0x98fc: file ../src/system.c, line 146.

(gdb) c
Continuing.

Breakpoint 1, resetSystem (boot=0) at ../src/system.c:146
146     if (!boot) DipSw = DipSwStatus();

(gdb) list
141 {
142     MEMSEG  *mp;
143     UW  i, va;
144
145     /* obtain DipSw status */
146     if (!boot) DipSw = DipSwStatus();
147
148 #if 0
149     setCacheMMU(DIS_CACHEMMU);          /* MMU turned off */
150 #else

(gdb) c
Continuing.

^C
Program received signal SIGTRAP, Trace/breakpoint trap.
0x00009d88 in waitUsec (usec=982) at ../src/waitusec.c:45
45      for (usec = usec * delay64us / 64; usec > 0; usec--);

(gdb) quit
A debugging session is active.

    Inferior 1 [Remote target] will be killed.

Quit anyway? (y or n) y
$
問題なく動きそう!!
次は、EclipseからのGUIデバックに挑戦していきたい。
J-Link LITE ARMとRaspberry Pi Zeroを接続
同様に「Raspberry Pi Zero」とも接続して確認。
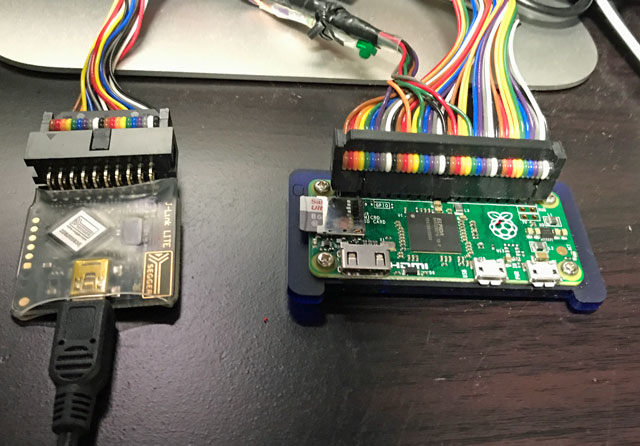
J-Link GDBサーバを起動
同様に、[Windowsのスタートメニュー] > [SEEGER] > [J-Link GDB Server] を実行。Target deviceは「ARM11」を選択。
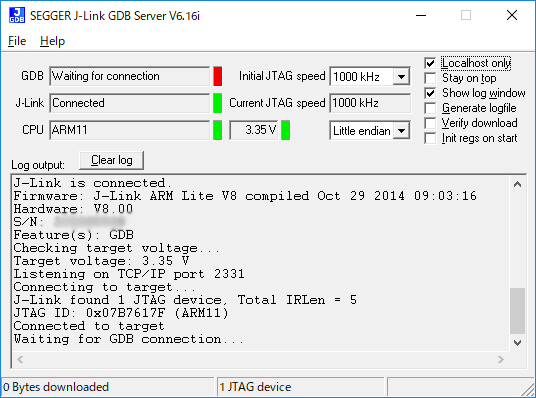
GDBサーバが無事起動して「2331」ポートの通信待ちとなる。GDBからの接続手順はRaspberry Pi 2の時と同様の手順で動作確認できた。
補足
- この方法だと、現状、Core 0にしかデバックに対応していないが、とりあえずハードウェアデバックはできる。
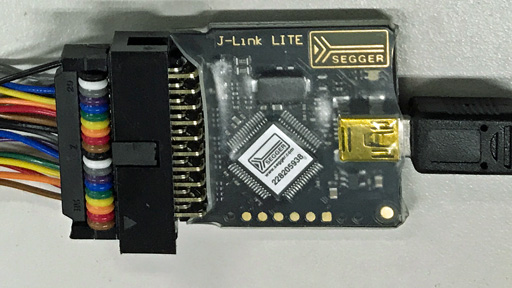
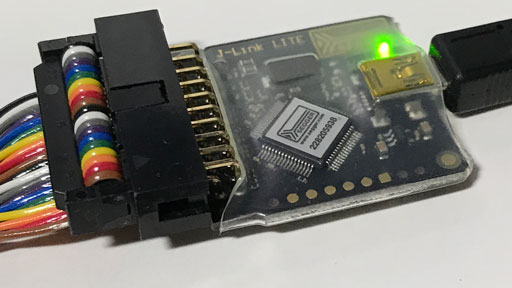
- この「J-Link Lite ARM」は、某評価ボードに付属してた物だが非売品らしい。正規のJ-Linkアダプタは、多少高価だが購入は可能。
- OpenOCDからだと、J-Link LITEでもエラーとなった。設定か使い方に問題あるのか? 少しづつでも究明していきたい。
- 「Raspberry pi 3」のCortex-A53については、参考(2.)にあるように、2017/8/20現在、J-Linkではまだ未サポートのようです。
追記(2019/5/8)
J-Linkも、Cortex-A53には対応済み(2018 Jun.14)のようです。下記URL。
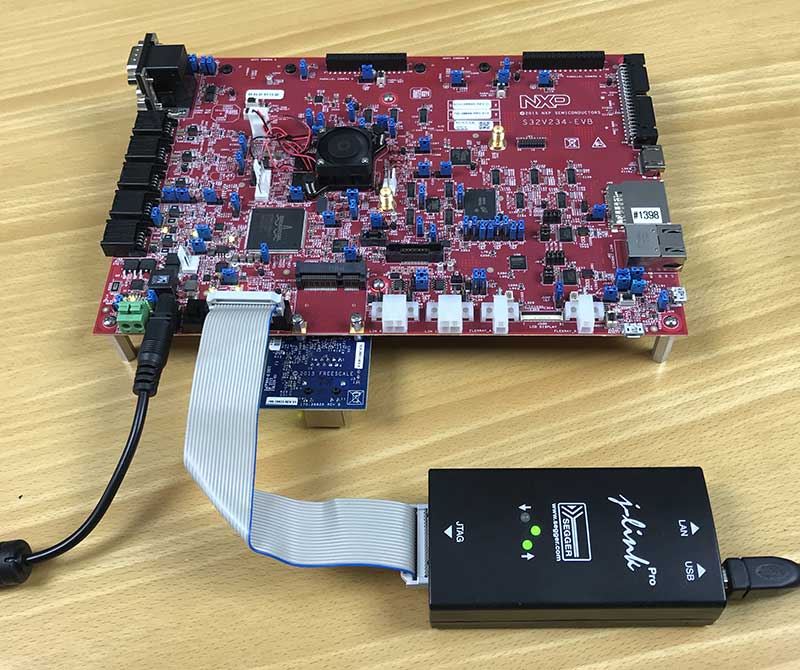
J-Link 64-bit support
64-bit support added to the J-Link, specifically for the ARMv8A architecture. Tested with ARM Cortex-A53 multi core devi...

コメント